Giving your car a professional-level clean doesn’t require expensive detailing services. With the right tools and a systematic approach, you can achieve a showroom shine right in your driveway. This ultimate guide breaks down the essential steps for both a sparkling **exterior wash** and a deep **interior detailing** session.
Part 1: Interior Detailing for a Fresh Cabin
Start with the inside. A clean interior makes every drive more enjoyable.
Step 1: Clear the Clutter and Mats
- Remove all trash, loose items, and valuables.
- Take out your **floor mats** (both carpet and rubber). Shake them vigorously to remove loose dirt. Clean them separately with a hose and a brush, then set them aside to dry completely.
Step 2: Deep Vacuuming
Using a powerful vacuum with various attachments is key to **interior detailing**.
- Vacuum all carpeted areas, seats, and the trunk.
- Use the crevice tool to get deep into the spaces between seats, under the pedals, and in cup holders.
- Use a stiff brush on carpeted areas before vacuuming to loosen deeply embedded dirt and pet hair.
Step 3: Wipe Down Surfaces
Dust and grime accumulate quickly on plastics and vinyl.
- Use **microfiber cloths** and a dedicated interior cleaner (avoid harsh household chemicals) to wipe the dashboard, center console, door panels, and steering wheel.
- Use a cotton swab or a soft brush to clean dust from air **vents** and difficult-to-reach buttons.
Step 4: Clean the Glass
Clean the inside of all windows and the windshield using an **ammonia-free glass cleaner** and a clean microfiber towel to prevent streaks.
Part 2: The Perfect Exterior Wash for a Showroom Shine
Washing the exterior properly prevents scratches and protects your paint.
Step 5: Pre-Rinse and Wheel Cleaning
- Park your car in the **shade** to prevent soap from drying too quickly and leaving water spots.
- Rinse the entire car with a hose to remove loose dirt and grime.
- Clean your **wheels** and tires first, as they are the dirtiest part. Use a separate bucket and brush for them to avoid transferring brake dust to your car’s paint.
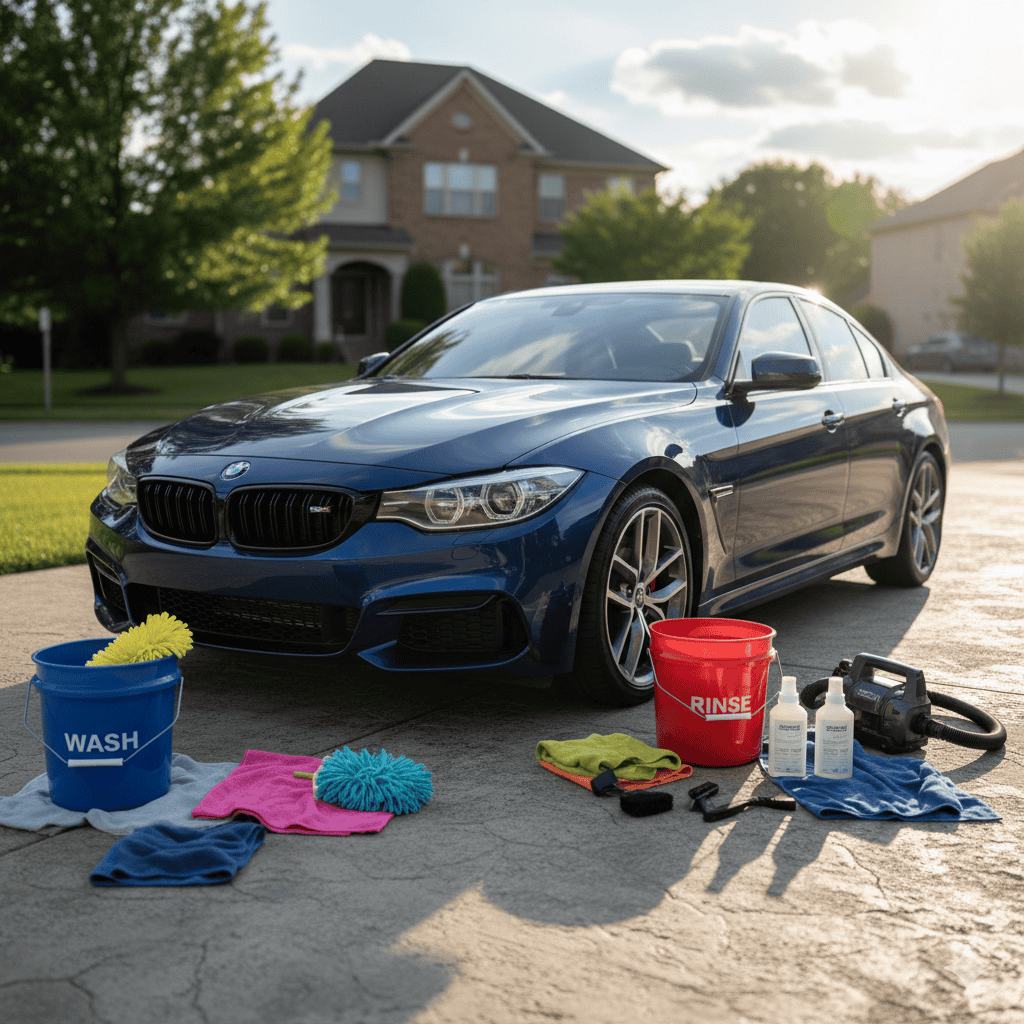
Step 6: The Two-Bucket Method (Essential Pro Tip)
This technique is vital to **clean your car like a pro** without scratching the paint.
- Fill one bucket with **car wash soap** and water.
- Fill the second bucket with **clean rinse water**.
- Dip your wash mitt into the soap bucket, wash one section of the car, then rinse the mitt thoroughly in the *clean water bucket* before dipping it back into the soap bucket. This traps dirt in the rinse bucket, keeping your soap water clean.
Step 7: Rinse and Dry
- Rinse the soap off thoroughly from top to bottom.
- Immediately **dry the car** using a large, clean drying towel or a waffle-weave microfiber towel. Allowing the water to air dry causes water spots.
Step 8: Final Protection (Wax or Sealant)
To lock in the shine and protect your paint from the sun and dirt, apply a high-quality **car wax** or paint sealant as the final step. This finish makes future cleanings easier!
Essential Tools for a Pro Car Cleaning Session
Having the right supplies makes all the difference:
- **Microfiber Wash Mitts:** Gentler on paint than sponges.
- **Multiple Microfiber Towels:** Essential for drying, interior wiping, and glass cleaning.
- **Two Buckets:** For the safe two-bucket washing method.
- **Dedicated Car Wash Soap:** Designed not to strip your protective wax.
- **Interior Cleaner:** Non-greasy and UV-protecting formulas.
- **Vacuum with Attachments:** For reaching every corner during **interior detailing**.
Follow these professional tips and your car will look fantastic, inside and out. Happy cleaning!